Blog
January 31, 2019
Scarves on Screen-my five favorite scarf style ideas from film and tv
It’s no secret I love a good scarf, so here’s some of my favorite on screen moments starring this must have accessory. These wardrobe departments really got it right when they finished off their leading ladies with a scarf. If you’ve ever coveted an on screen style, here’s a guide to the best looks to inspire.
THELMA AND LOUISE
Grab a gal pal and scarf in tandem on a girls roadtrip. All you need is a wrapped headscarf, cateye glasses and signature red lip. BYO classic convertible.
Style Rating ⭐️⭐️⭐️⭐️ Difficulty Rating⭐️
This iconic outlaw road movie challenged the gender norms of its genre at the time and won writer Callie Khouri best screenplay at the Oscars in 1991. The friends’ journey goes from housewife to hunted when their vigilante justice sees them outlaws for murdering a rapist. The women’s evolving wardrobe throughout the film mirrors their progression from the classic ladylike traveler to fugitive.
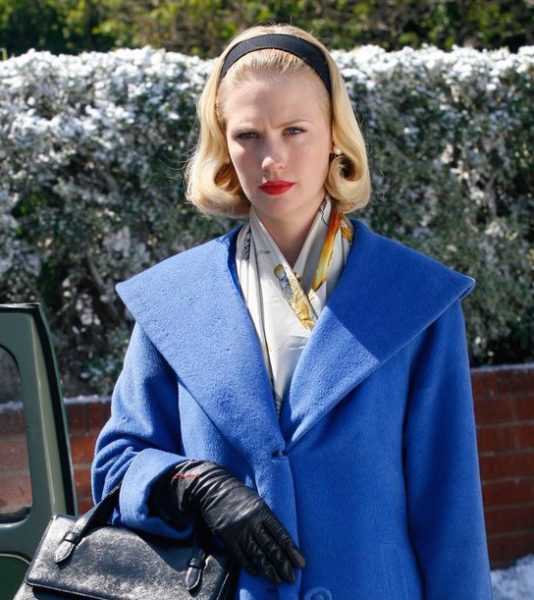
BETTY DRAPER, MAD MEN
Running errands, running the household, running the world! Look sophisticated and always put together no matter what fresh hell you wake up to.
Style Rating ⭐️⭐️⭐️⭐️⭐️ Difficulty Rating ⭐️⭐️⭐️
I adored the many scarf moments of Betty Draper-Francis. The attention to detail by Janie Bryant in the costuming for this series really had some showstopping moments. January Jones’ role gives us an insight into the complex roles of womanhood in the 50’s while she struggled to find fulfilling purpose in a society that limited her to mother and wife. Here’s to vintage style, not vintage values!
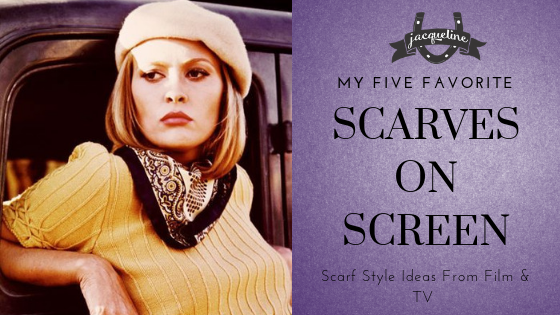
BONNIE AND CLYDE
For the fashion forward fugitive who gives no fucks. Ready to ride or die?
Style Rating ⭐️⭐️⭐️⭐️ Difficulty Rating ⭐️⭐️
With an exhilarating combination of romance and violence, young moviegoers immediately fell in love with this crime classic. Striving to escape the mundane, the beautiful femme fatale captured imaginations with her desperate recklessness and 30’s gangster vibe. Dressed in a signature scarf and beret, Faye Dunaway’s character had a confidence and sex appeal that was elegant and chic. The Oscars would nominate Theadora Van Runkle in 1967 for her costuming of this film.
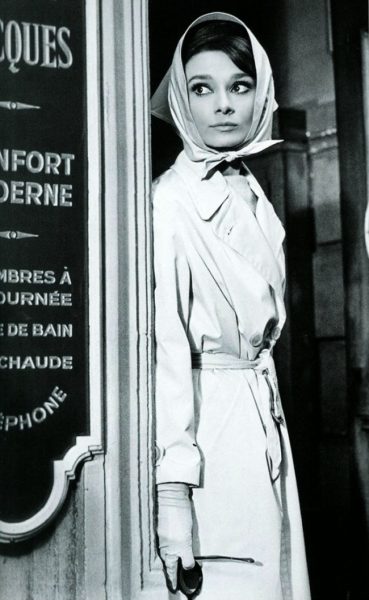
BREAKFAST AT TIFFANY’S
Sneaking around incognito or casually blending in? Go no further than the inconspicuous trench with scarf and glasses. Definitely not looking to attract attention here, go about your business….
Style Rating ⭐️⭐️⭐️ Difficulty Rating ⭐️⭐️
Images of Hepburn as a style icon in the little black dress have been mass marketed out of context for so long, it’s sometimes difficult to remember that disguised under the charming femininity of fashionably chic whimsy, the character of Holly Golightly is complicated, tragic and layered with subtext. Hepburn gives one of her greatest performances, with a subtle depiction of the deeply flawed call girl hidden behind the mask of carefree confidence.
CALAMITY JANE
It’s a shoot from the hip, quick draw style. It says ‘I’m casual and easygoin’, but don’t mess with me.’ When it comes to accessories, this ain’t my first rodeo darlin’.
Style Rating ⭐️⭐️⭐️ Difficulty Rating ⭐️
Sharp shootin’ and gun totin’ never looked better. You just cannot do the old west without a neckerchief. Doris Day sings some of her most memorable hits in this musical where she goes from homesteader tomboy to proper lady to snag the all important love of her life. Whip,Crack,Away!
With all these classics to choose from, it’s easy to see how a scarf can add the finishing touch to your vintage style. Whether it’s total glam or an everyday look, I hope you find outfit inspiration- whatever look you choose, there’s a scarf to suit!
October 15, 2018
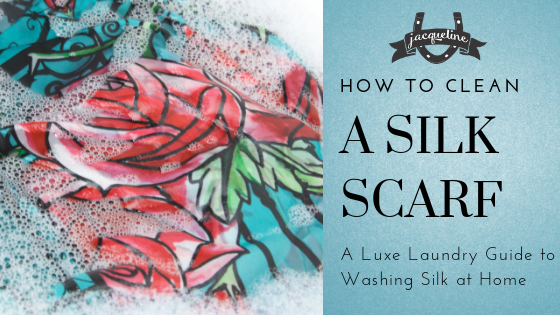
How To Clean A Silk Scarf – a luxe laundry guide to washing silk at home
A pure silk scarf is a beautiful style investment and as such, you want to make its beauty last a lifetime. Dry cleaning is still recommended as the SAFEST way to clean your silk, but it can become expensive or inconvenient. So whilst you can certainly leave it to the professionals to launder your scarf, I’d love to share with you how I clean my scarves when I choose to do it myself.
People often ask me how to look after their Jacqueline scarf, and I always include care instructions with each of my pieces when they go to their new homes. If this is your first experience cleaning pure silk, or or you just want more detail, here is my method for when I prefer to do a little DIY.
Start with a clean slate
Or rather, a clean sink. Give your chosen basin a wash to get rid of any dirt or grease and then make sure any residual chemicals are washed away too.
Some like it hot
…But definitely NOT your scarf! I only ever fill the basin with cool to body temperature water. Sudden temperature changes can cause fabric shrinkage.
A little goes a long way
Think minimal and only add a teensy amount of mild detergent to the water. I never use regular laundry powder as most are too harsh and can damage the silk, causing it to lose it’s sheen. Choose a mild liquid soap specially formulated for delicate fabrics, or even a gentle baby shampoo.
Easy does it
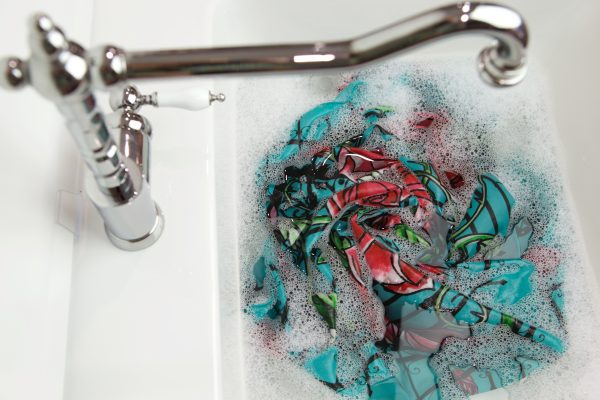
Gently submerge the scarf and carefully move it around to push the water through the entire fabric. Soft, slow agitation is the key here, think of it as a calm and relaxing massage. Keep soaking times limited to under thirty minutes. Attempting to spot clean only selected areas of your scarf can result in watermarks or uneven tones in the silk, and you should never apply concentrated cleaning solutions.
Rinse and repeat
Excess soap and inadequate rinsing can make a scarf lose it’s soft and lustrous feeling…and we can’t have that! So rinse, rinse, rinse!
Push Press
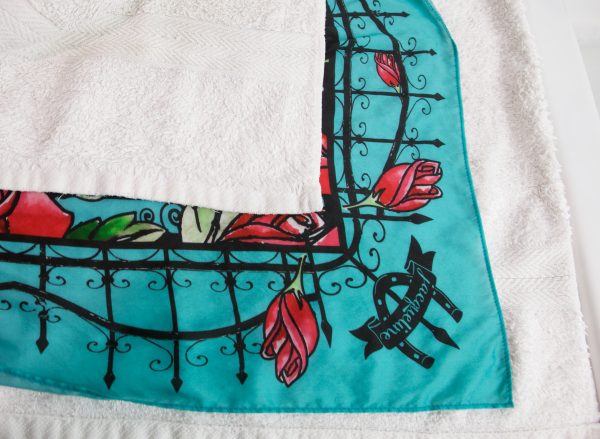
Seeing my scarf sad and dripping can cause the desire to squeeze out the water, but NEVER squeeze or wring the water out. Never ever! This is terribly damaging tot he fibers of the silk and can ruin the shape and fabric. Instead take a clean towel, lay the scarf at one end, then fold the rest of the towel over the scarf. Push down on your silk sandwich, gently pressing the water out into the towel. Lay the scarf flat to dry somewhere out of direct sunlight to avoid fading. Tumble drying is a huge NO NO.
The finishing touch
To get the scarf back to it’s perfect state, use a clean iron on silk setting, or medium heat. Always iron the reverse side of the scarf, or use a cloth over the silk to avoid direct heat.
Be Extra
Once you have your gorgeous scarf looking its best, here are some extra tips…
Be mindful of jewellery that might snag or catch the fibers, causing runs or pulls.
Same goes for rough surfaces (like leaning against concrete walls or raw timbers)
Avoid overspray from perfumes, deodorants and hairspray.
Be especially careful when using hairpins to keep a scarf in place.
When using the accompanying slider, gentle firm pressure is fine but avoid excessive resistance when pulling and tying.
Store your silk away from direct sunlight.
Following these steps will keep your luxurious silk scarf at it’s best for many years to come.
February 15, 2017
How to create a repeating pattern
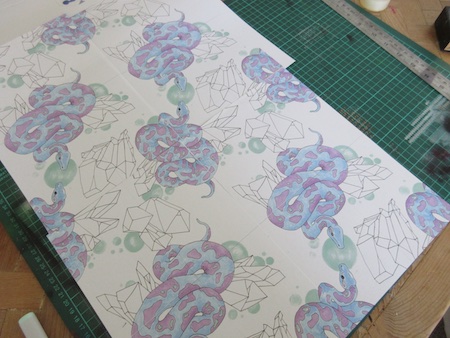
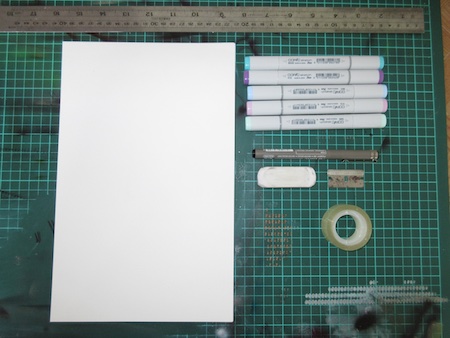
Lot’s of people ask me where my ideas come from, or how I create things. In particular, how do I make a repeating pattern. So here’s a way to design a super easy repeating pattern the old school way-without a computer! It’s a great little trick and it’s fun to do. All you need are the materials and a little imagination. To get started, make sure you have the following:
Paper (I find it simpler to use a4, then it’s ready for my home printer)
Scissors or a scalpel blade
Ruler
Sticky tape
Your drawing medium (pens, pencils, stickers, etc)
Access to a copier
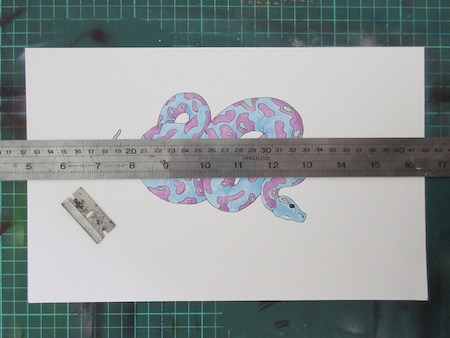
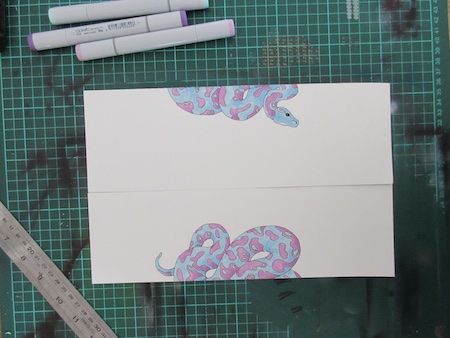
Start by making your first image on the paper. It can be big or little, many or one, as long as you DONT go off the edge of the paper. Once you have your first part of the design, cut the paper in half through the middle in a STRAIGHT line.
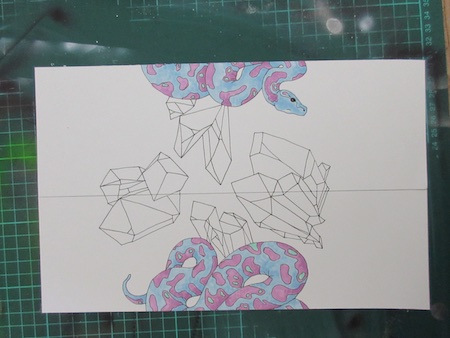
Swap the pieces over so that the images cut edges are at the outside of the paper, then flip both over and tape together, making sure the edge fits together perfectly and the halves are aligned, as this will affect how your future tiles will meet. Next, fill in the blank space with the next part of your design, again being careful not to go off the outside edge of the paper.
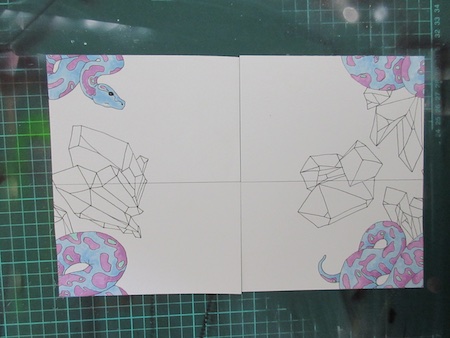
Repeat the center cut, but in the other direction. Swap the halves and tape the backs together again, same as before.
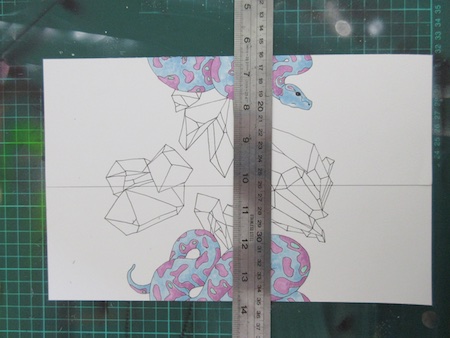
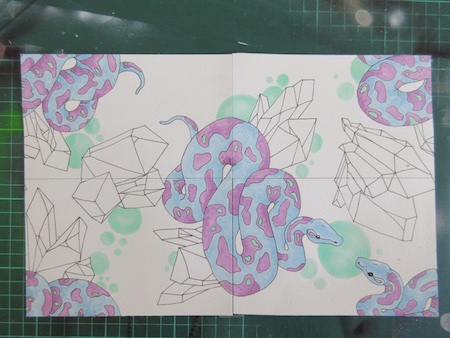
Continue to fill the remaining space until you are happy with your image. Never go off the outside edge of the paper. This will cause the pattern images to meet incorrectly once you you put the repeats together.
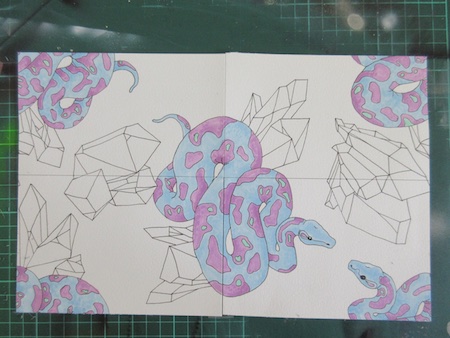
When you are finished, copy or scan your image making sure none is ‘chopped off’ by the copier/scanner. Try colour, black and white, and print as many copies as you like. Four is a good start to check you’ve got them matching. Now you have a repeating pattern tile to make your pattern as large as you like! Just keep printing and joining! Cover books, line drawers, wrap presents, make wall art, wall paper, or digitise. Many custom fabric suppliers can clean up the joins and prepare for print, so you can make your own fabric!
I hope you liked this little art hack, and you have fun getting creative and making some cool stuff. Please post your creations, I’d love to see them. I’m always posting process shots of my work on insta @jacquelinecreative so have a look there for more videos of my art. xox J
December 6, 2016
I went to Montana to be a cowgirl

What little girl doesn’t grow up dreaming of having a horse at some time in her life? I was that girl, totally obsessed with everything to do with horses. I’ve had one horse or another ever since I was twelve. So when I told my family last year I’d like to go Montana to ride horses, they were understandably puzzled. ‘You have a horse here!’ they said. Read more

